Video
Set Up Data Logging on the PG10 Digital Pressure Gauge
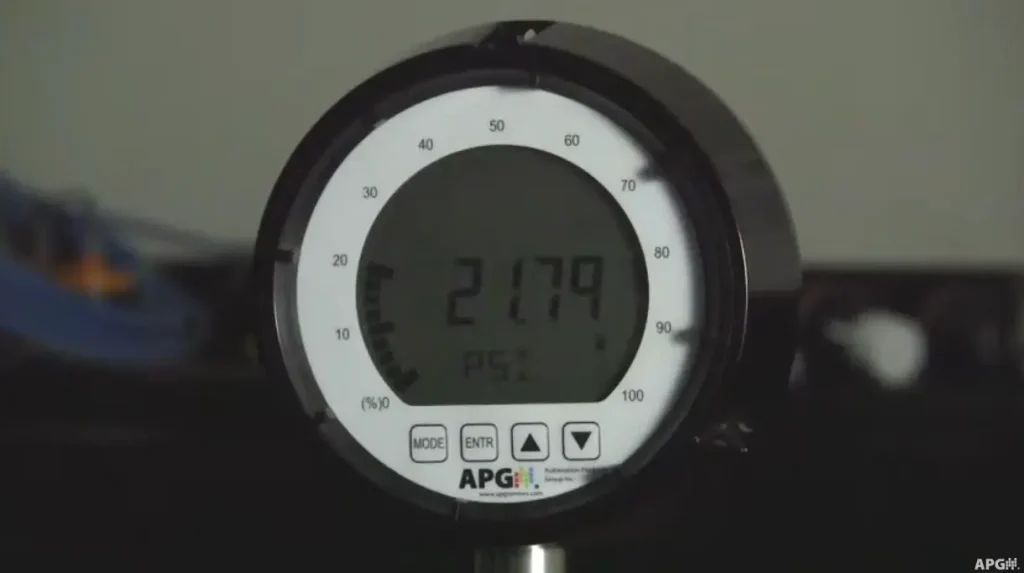
In this video, you will get an overview of the data logging feature on the PG10 Digital Pressure Gauge, and will learn how to setup time stamp.
In this video, you will learn how to setup continuous logging and sample rate in the data logging feature on the PG10 Digital Pressure Gauge.
In this video, you will learn how to setup event based logging in the data logging feature on the PG10 Digital Pressure Gauge.
In this video, you will learn how to view and clear logs in the data logging feature on the PG10 Digital Pressure Gauge.
View Transcripts
Part 1
“Hi, you’re watching APGTV. I’m Shaw Merrill, and today we’re going to show you the data logging feature on the PG10 digital pressure gauge.
The data logging feature can be set up to log continuously, based on the sample rate setting, or event-based, based on the trip relay status. To set up logging in the PG10, we first need to set up the time and date stamp. This will act as a reference for the timestamp of each logged reading.
Press the MODE button to enter the main menu. Then press the up or down arrow button until you see “DATLOG” displayed. Press ENTER to enter the data logging menu options. Next, press the up or down arrow buttons until “DATE” is displayed on the screen and press ENTER.
A two-digit month number will appear. Press the up or down button to select the first digit, then press ENTER. Do the same for the second digit. Pressing ENTER again will advance you to the day of the month setting. Repeat this process for the day of the month and the year, then press ENTER to apply the settings and return to the data logging menu.
Press the up or down button until you see “TIME” displayed and repeat the process used to set the date to set the time.
To learn how to set logging based on sample rate, view the video Data Logging with a PG10 Digital Pressure Gauge: Part 2. For instructions on setting up logging based on events, see Part 3. To learn how to view logs and disable logging, watch Part 4.
Thanks for watching our quick PG10 data logging video. If you have any questions, please contact us at (435) 753-7300, or send us an e-mail to sales@apgsensors.com.”
Part 2
“You’re watching APGTV. I’m Shaw Merrill, and today we’re going to show you how to use the data logging feature based on sample rate on the PG10 digital pressure gauge.
To set up continuous logging on the PG10, press the MODE button to enter the main menu. Next, press the up or down arrow button until you see “DATLOG” displayed on the screen and press ENTER. Now press the up or down arrow button until you see “LOG” displayed and press ENTER.
Press the up or down arrow button again until you see “CONTIN” displayed and press ENTER to enable continuous logging. Now press the up or down button to cycle through the options until “SAMPLE” is displayed and press ENTER. You can scroll through the sample rates by pressing the up or down button. When you see the sample rate you want, press the ENTER button to select it.
The PG10 will store a maximum of 60 records in a first-in, first-out buffer. To exit the menu, press the up or down arrow button until you see “EXIT” displayed and press ENTER.
For more on data logging with the PG10 digital pressure gauge, check out our other videos: parts 1, 3, and 4 on our website.
Thanks for watching our quick PG10 data logging video. If you have any questions, please contact us at (435) 753-7300, or send us an email at sales@apgsensors.com.
Until next time, I’m Shaw Merrill, APGTV.”
Part 3
“You’re watching APGTV. I’m Shaw Merrill, and today we’re going to show you how to use the data logging feature based on events in the PG10 digital pressure gauge.
Press the MODE button to enter the main menu. Next, press the up or down arrow button until you see “DATLOG” and press ENTER. Now press the up or down arrow button until you see “LOG” and press ENTER. Press the up or down arrow button until you see “EVENT” and press ENTER to enable event logging. Press the up or down arrow button again until you see “EVENT” and press ENTER. Then press the up or down arrow buttons until the desired event condition is displayed.
Event logging can be initiated by one of the following conditions: when Trip 1 or Trip 2 is ON, when both Trip 1 and 2 are ON, when both Trip 1 and 2 are OFF, or when Trip 1 or Trip 2 is OFF. The PG10 will store a maximum of 60 records in a first-in, first-out buffer.
To exit the menu, press the MODE button, then press the up or down arrow button until you see “EXIT” and press ENTER. For more on data logging with the PG10 digital pressure gauge, check out our other videos: parts 1, 2, and 4 on our website.
Thanks for watching our quick PG10 data logging video. If you have any questions, give us a call at (435) 753-7300, or send us an e-mail at sales@apgsensors.com. Until next time, I’m Shaw Merrill, APGTV.”
Part 4
“You’re watching APGTV. I’m Shaw Merrill, and today we’re gonna show you how to view and clear logs in the data logging feature on the PG10 digital pressure gauge.
To view logs, press the MODE button to enter the main menu. Next, press the up or down arrow button until you see “DATLOG” displayed and press ENTER. Now press the up or down arrow button until you see “VIEW” displayed and press ENTER to access the logged readings. The first reading displayed is the latest reading. Pressing the down arrow button will cycle through the readings from newest to oldest. Press ENTER to exit the logged readings.
To stop the logging function and to clear logged readings, press the up or down arrow button until “LOG” is displayed and press ENTER. Next, press the up or down arrow button until you see “STOP” or “CLEAR” displayed. Pressing ENTER when “STOP” is displayed will stop the logging function. Pressing ENTER when “CLEAR” is displayed will clear all logs. After clearing the logs, you will still need to repeat this process to select stop to stop logging.
For more on data logging with the PG10 digital pressure gauge, check out our other videos: parts 1, 2, and 3 on our website. Thanks for watching our quick PG10 data logging video. If you have any questions, please contact us at (435) 753-7300, or send us an e-mail to sales@apgsensors.com. Until next time, I’m Shaw Merrill.”