Video
Ultrasonic Test Settings
In this video, we demonstrate how to properly test and verify the functionality of ultrasonic sensors. Ultrasonic sensors are powerful tools for measuring distance and material levels, but they require careful setup and calibration, especially in challenging environments or when measuring sound-absorbing targets.
We walk you through step-by-step procedures to test your sensor in a controlled environment using a known target. You’ll learn how to:
-
Adjust sensitivity and pulse settings for accurate readings
-
Identify potential issues such as weakened or ringing transducers
-
Verify sensor performance with ideal and movable targets
-
Troubleshoot and determine if a sensor may need replacement
These tests are essential for ensuring reliable performance and removing uncertainty during installation. For more guidance, APG technical support is available to assist.
View Transcript
“Ultrasonic sensors are a versatile and powerful tool for monitoring distance and levels of materials. However, they do require knowledgeable care to correctly configure them for more complicated applications, including extreme environmental conditions or sound-absorbing measurement targets.
Several parameter settings are available for adjustments to compensate for environmental factors. In particularly difficult installations, setup problems may lead to questions of the transducer’s functionality.
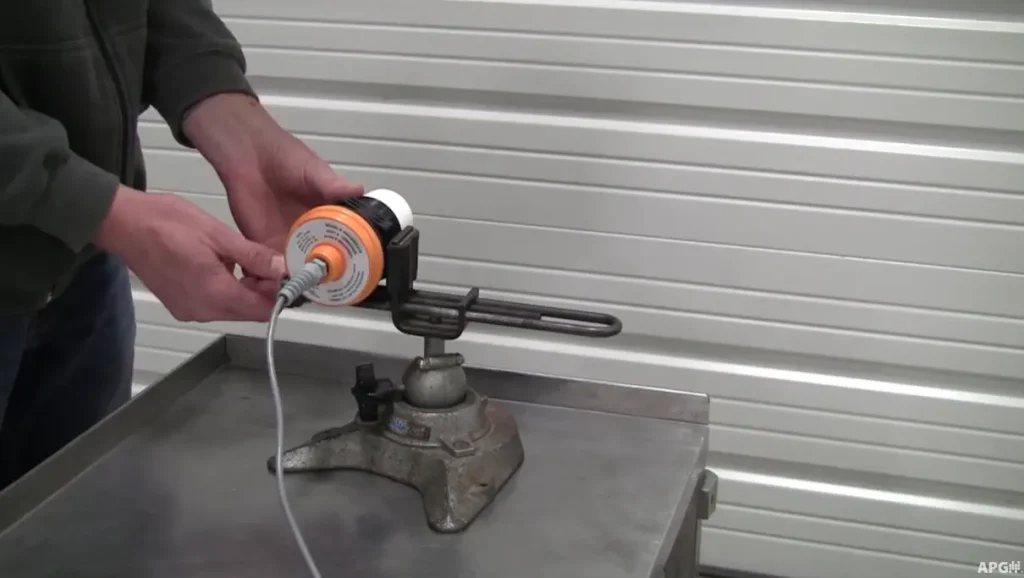
The following test procedures may be used to verify that your ultrasonic sensor is operating correctly, helping you remove one variable from your troubleshooting list. These tests involve removing the sensors from their installation for verification in a controlled environment with a known good target.
To set up for these tests, place the sensor about five feet from an ideal target. Ideal target surfaces are hard, flat, and smooth, such as a wall. Make sure the area between the sensor and target is unobstructed and the sensor is perpendicular to the target.
For the first test, use your sensor software to change the sensitivity parameter to 15 and the pulses to 12. Note that you may have to account for your multiplier, units, and application parameter settings to correctly calculate the appropriate distance to be displayed.
Verify that the sensor detects the wall as a steady target, and that if the sensor is turned at a slight angle to the wall — approximately five degrees of deviation from perpendicular — the sensor loses the target and blanks out. It should read the target again when straightened.
If the sensor will not read a steady target or blanks out, displaying the max distance, it may have a weakened transducer. With the sensor still pointing at your target, slowly increase sensitivity and pulse settings until the sensor is able to acquire the target.
If settings above 30 sensitivity and 16 pulses are required for the sensor to see the target, the transducer may not be suitable for use. If the sensor was purchased within the warranty period, it is recommended to return it to the factory for evaluation and possible replacement.
If the sensor passes the low sensitivity test, change the sensor’s sensitivity parameter to 100 and the pulses to 20. Make sure that the sensor is still able to see the target.
Place a movable target at a distance slightly beyond the blanking distance. A piece of cardboard makes a good target, or even your hand will work if it is held perpendicular to the sensor. Slowly move the target closer to the sensor and verify that it is able to detect the target until the distance to the target matches the blanking distance.
Remove the target and place a rag or piece of foam over the transducer face. The sensor should blank out and read max distance. If the sensor blanks out at a distance further than the blanking distance when tracking a target, or does not blank out when a piece of foam is placed on the transducer face, it may have a ringing transducer.
Slowly decrease sensitivity settings, repeating tests after each change. If the sensitivity parameter must be changed below 80 to pass these tests, the transducer may not be suitable for use. If the sensor was purchased within the warranty period, it is recommended to return it to the factory for evaluation and possible replacement.
For additional help with setting up or troubleshooting ultrasonic sensors, contact APG for technical support.”